
Water damage to ceilings is a common issue that homeowners face, often resulting from leaks, poor ventilation, or plumbing failures. Addressing this damage promptly is crucial to prevent further deterioration and potential health risks, such as mold growth. This guide will walk you through the steps to repair a water-damaged ceiling, ensuring your home remains safe and sound.
How to Identify Ceiling Water Damage
Inspecting for Visible Signs
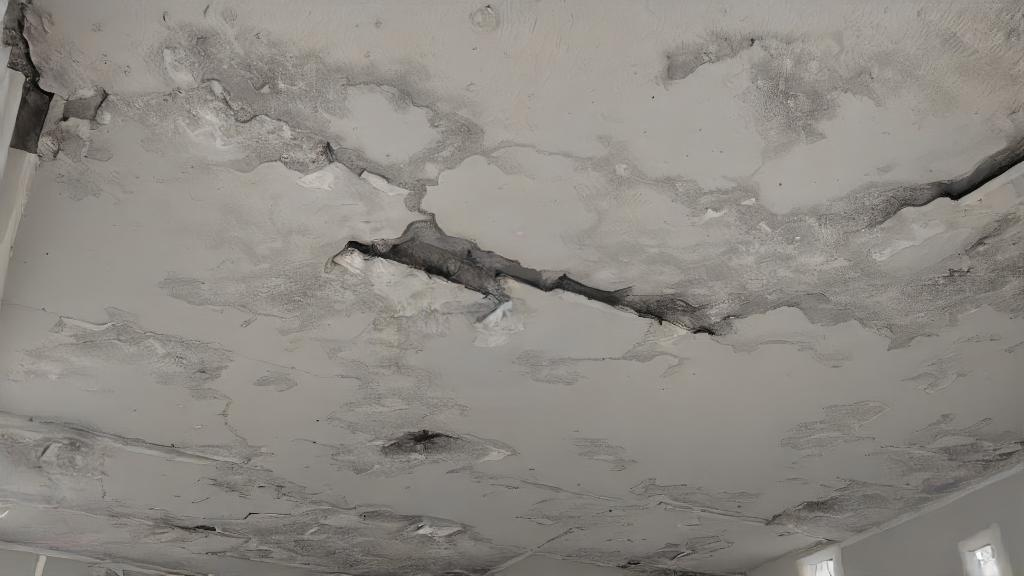
The first step in addressing a water-damaged ceiling is identifying the problem. Look for visible signs such as:
- Brown or yellow water spots
- Cracked, peeling, or bubbled paint
- Sagging plaster or drywall
These signs indicate that water has infiltrated the ceiling, and immediate action is required to prevent further damage.
Finding the Source of the Leak
Finding the source of the leak is essential before any repair work can begin. Some leaks are obvious, such as those caused by an overflowing sink or broken water line. However, others might be more challenging to pinpoint. Common sources of ceiling leaks include:
- Overflowing sinks, toilets, bathtubs, or showers
- Appliances with faulty water supply or drain lines
- Leaky pipes
- Clogged gutters
- Damaged, raised, or missing shingles
Using Tools to Locate Leaks
If the source of the leak is not immediately apparent, use tools like a moisture meter. Place the meter against a flat surface to take readings; the area with the highest moisture levels is likely where the leak originates. Another method involves placing tissue paper on pipes or ceiling joists; the paper will absorb any moisture, indicating the presence of a leak.
Also Read: Water Damage Restoration in Tampa, FL
How to Stop Ceiling Leaks
Safety First
Before attempting any repairs, ensure the area is safe. If water is pooling in light fixtures or electrical wiring is wet, shut off power at the breaker box to avoid electrical hazards.
Temporary Measures
For active leaks, place a bucket or tarp under the leak to contain the water. Clear the area of furniture or other valuables to prevent additional damage. Consider making a small hole at the center of the leak with a screwdriver or drill to control the leak’s direction.
Permanent Fixes
Once the immediate danger is mitigated, it’s time to fix the leak. Common fixes include:
- Tightening or replacing faulty pipes or pipe fittings
- Reattaching or replacing sagging gutters
- Removing and replacing damaged shingles
How to Repair a Water-Damaged Ceiling
Drying Out the Area
Before you begin repairs, ensure the area is completely dry. Use high-powered blower fans or dehumidifiers to remove all moisture from porous materials. Moisture meters can confirm the area is dry, preventing mold or mildew growth.
Removing Damaged Materials
For minor discolorations, repainting may suffice. However, more extensive damage requires removing affected materials:
- Cut out the damaged drywall with a drywall saw.
- Remove insulation or other materials behind the drywall that are wet or moldy.
Repairing the Ceiling
Follow these steps to repair the ceiling:
- Cut Back Drywall: Cut the drywall back to the nearest joists for attaching the replacement sheet. You may need to attach 2- x 4-inch boards along the joists to provide a surface for the drywall screws.
- Cut Replacement Drywall: Cut a new sheet of drywall to fit the gap, ensuring it matches the thickness of the existing ceiling drywall.
- Attach Drywall: With assistance, lift the drywall into place. Use a drill and drywall screws to attach it to the ceiling.
- Finishing Touches: Prime and paint the repaired area to match the rest of the ceiling.
Costs and Considerations
Repairing water damage on ceilings can cost between $45-$55 per square foot, not including repairs to the initial leak. Factors such as the age of the house, ceiling material, and size of the damaged area may lead to higher repair costs. When repairing a damaged ceiling, consider taking the opportunity to upgrade ceiling fixtures or repaint the room for a refreshed look.
Preventing Future Water Damage
Regular Maintenance
Regular maintenance is key to preventing future water damage. This includes inspecting and maintaining plumbing fixtures, gutters, and roofing. Ensuring proper ventilation in kitchens, bathrooms, and laundry rooms can also prevent moisture buildup that mimics leaks.
Professional Inspections
Consider having a professional inspect your home periodically for potential water damage risks. They can identify issues you might miss and recommend preventive measures.
Call the Professionals
Repairing a water-damaged ceiling can be a daunting task, especially if the damage is extensive. Hiring professionals ensures the job is done correctly and safely. Companies like Pro Painters offer comprehensive services, including measuring, marking, and cutting drywall panels, as well as sealing joints and sanding to make the surface smooth.
Also Read: Water Damage Restoration in San Diego
Conclusion
Water damage restoration ceiling repairs require careful attention to detail and prompt action to prevent further deterioration and health risks. By following the steps outlined in this guide, you can effectively address and repair water-damaged ceilings, ensuring the safety and integrity of your home. If in doubt, always consult or hire professionals to handle the repairs, ensuring the job is done right the first time.


