
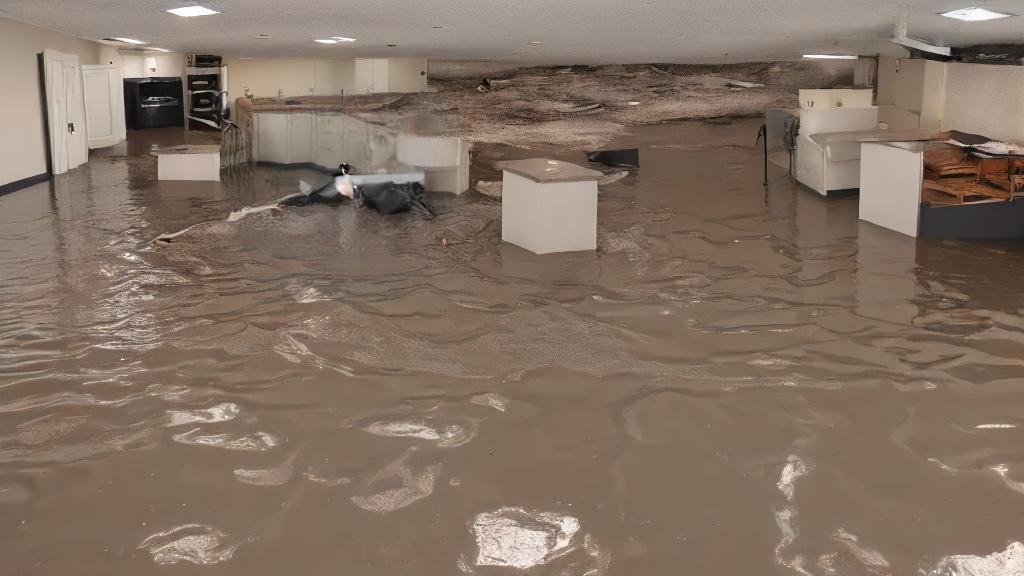
Water damage to your ceiling can lead to severe and irreversible damage if not addressed promptly. Not only can this damage result in the need for costly repairs, but it can also pose significant health risks due to mold growth. Mold exposure can cause rashes, headaches, dizziness, nausea, allergic reactions, asthma attacks, and even lung infections. However, with the proper steps and tools, water-damaged ceilings can be repaired. This guide will walk you through the essential steps for effective water damage restoration ceiling repair.
Identifying the Source of the Water Leak
Inspecting for Visible Signs
The first step in water damage restoration ceiling repair is identifying the source of the water leak. This is crucial for preventing further damage. Look for visible signs of water damage, such as peeling paint, cracking, bubbling, exposed seams, or sagging areas on the ceiling. These indicators can help pinpoint where the water is coming from.
Investigating Hidden Sources
Sometimes, the source of the water damage isn’t immediately apparent. Water can travel from a roof leak to unexpected places, causing damage where you wouldn’t normally look. If the source isn’t obvious after an initial inspection, you may need to remove the damaged drywall to locate the leak. This process not only helps you find the source but also allows you to dry out the affected areas more effectively.
Also Read: Water Damage Restoration Cost: Understanding the Financial Impact of Water Damage
Drying Out the Damaged Areas
Before you can start repairing the water-damaged ceiling, it’s essential to ensure that all affected areas are completely dry. Place a drop cloth or tarp on the floor to protect it from dust and debris. If the ceiling has a bulging area, puncture it to release any trapped water, using a bucket to catch the water.
Ensuring Thorough Drying
Take the time to dry both the surface and the area above the ceiling. Use fans, dehumidifiers, and proper ventilation to speed up the drying process. Thorough drying is critical to prevent mold growth and further damage.
Removing Damaged Drywall
Safety Precautions
Before you begin removing the damaged drywall, make sure to wear protective gear such as safety goggles and a face mask. This will protect you from dust and potential mold spores.
Removing the Drywall
Start by removing the damaged drywall using a hammer or wrecking bar. If the drywall only shows water stains without structural damage, you can salvage parts of it by cutting out only the damaged sections. Use a keyhole saw to cut the damaged area into a square or rectangular shape, making it easier to patch later.
Repairing the Ceiling
Smoothing and Filling
Once you’ve removed the damaged drywall, use sandpaper to smooth any ridges or bumps left behind. Fill small holes with a joint compound, let it dry, and then smooth it down again. For larger areas where you’ve cut out damaged drywall, measure the hole and cut a new piece of drywall that is slightly larger than the hole.
Patching the Hole
Fit the new piece of drywall into the hole and secure it in place. Once the adhesive has dried, apply joint compound to the seams and smooth it down. Repeat this process until the patched area is even with the rest of the ceiling.
Hiring Professionals
If the damage is extensive or the repair process seems daunting, consider hiring a professional restoration company. Drywall is heavy and difficult to handle, especially on a ceiling. Professionals have the tools and experience to ensure the repair is done correctly.
Priming and Painting
Ventilation
After completing the repairs, open windows to provide ventilation for the priming and painting process. Proper ventilation helps the primer and paint dry faster and reduces the risk of inhaling fumes.
Priming
Apply a primer to the entire ceiling, not just the repaired area. This ensures an even finish and helps the paint adhere better. Allow the primer to dry completely before moving on to painting.
Painting
Paint the entire ceiling to ensure a uniform appearance. While it may seem like extra work, painting the whole ceiling prevents any noticeable differences between the repaired area and the rest of the ceiling. If you’re not confident in your painting skills, consider hiring professionals to achieve the best results.
Signs of Water Damage in a Ceiling
Recognizing the signs of water damage early can help you address the issue before it worsens. Common signs include:
- Stains that are rust-colored, dark, or yellow
- Peeling paint
- Hairline cracks or patterns of cracks
- Mold growth, especially in corners
- Musty smells
- Sagging or bowed sections of the ceiling
- Bubbling or flaking paint
- Light brown water rings
Common Sources of Ceiling Leaks
Identifying the source of the leak is crucial for effective water damage restoration ceiling repair. Common sources include:
Roof Issues
- Leaking roof
- Ice dam buildup
- Cracked chimney
- Improperly installed skylights
- Cracked vent booting
- Improperly sealed roof valleys
- Broken shingles
- Cracked flashing
Plumbing Issues
- Dripping or leaking water pipes
- Clogged gutters and downspouts
- Home condensation due to faulty ventilation or insulation
Other Sources
- Malfunctioning ceiling fire sprinklers
What to Do When You Find Water Damage
Immediate Actions
Upon discovering water damage, take the following steps:
- If safe, locate and stop the source of the leak by turning off your water or placing a tarp over the opening.
- Move furniture and other items away from the leak to prevent further damage.
- Place buckets under the leak to catch the water.
Contacting Professionals
Contact a professional cleanup and restoration company like SERVPRO to handle the remediation. Professionals have the expertise and equipment to address the damage safely and effectively. SERVPRO, for example, follows an eight-step process to restore your property to its pre-loss condition:
- Emergency Contact: Assess the situation and determine appropriate equipment and personnel.
- Inspection and Assessment: Evaluate the damage and create a plan of action.
- Water Removal: Use extraction units and pumps to remove water.
- Damaged Material Removal: Remove non-restorable items to speed up drying.
- Cleaning, Sanitizing, and Deodorization: Clean affected areas and belongings.
- Drying: Use industry-leading equipment to dry hidden moisture.
- Monitoring: Routinely assess drying progress and adjust as needed.
- Repairs and Construction: Final evaluations and recommendations, including possible construction of affected areas.
Also Read: Water Damage Restorer: Your Guide to Professional Cleanup and Restoration
Conclusion
Water damage restoration ceiling repair is a critical process that requires prompt and thorough action. By following these steps, you can effectively address water damage, prevent mold growth, and restore your ceiling to its original condition. Remember, when in doubt, it’s always best to consult or hire a professional to ensure the job is done right.


